All Posts By

Madeleine Wilson

Lifestyle

Blogging 101 – Setting Up and Designing Your Blog

Blogging 101 design

BLOGGING 101Setting up and designing your blog will probably be the most daunting task you face as a blogger. What blogging platform, web-hosting service, and layout you chose will determine the success of your site. First impressions are everything – especially in today’s digital age. Lucky for us, there are some amazing tools that help make this process much easier.

In this section of my Blogging 101 series, I will go over how to pick a blogger platform, the difference between self-hosting vs. free hosting, and steps to take when designing your blog.

These are all very complex topics, so I tried to keep them as simple as possible. If you have any questions at all, please do not hesitate to ask me and I will get back to you quickly! If you want me to go more in-depth about some of these topics, I can absolutely do that.

Tune in next Wednesday at 7 p.m. PST for advice on how to start your writing process!
 

Blogging 101 blogging platforms1. Pick a Blogging Platform

Blogger platforms are what you will design, post, edit, and operate your blog from. They are the back end of any site.

Here are some popular blogger platforms:

The two I find most common are WordPress and Blogger, so I’m just going to talk about them a little bit.

WordPress

WordPress offers two choices: wordpress.com and wordpress.org. The difference is that wordpress.com is hosted through the WordPress server and wordpress.org is hosted on whatever server you want to use (i.e. GoDaddy, BlueHost).

The best thing about WordPress is that it’s so easy to use – if you never want to touch a single piece of code your entire time using it, you’d be just fine. Plugins make it extremely easy to incorporate interactive media, advertisements, and much more. It’s fast, simple, and has enough options that even very experienced bloggers with more complex needs still use it.

WordPress.com is by far the best place for beginners or people on a budget –  it has simple customization tools and a clean interface. You can pay money to access more features or stick to what is provided for free!  The only caveat is that you cannot adjust any coding or add plugins, and certain themes are unavailable.

When you’re at a point where you want those features, you can easily make the switch to wordpress.org on a self-hosted server where you will have access to all of that. I found the transition between wordpress.com and wordpress.org to be  fairly smooth which was great. I had no idea when I started blogging that it would take off like it has, so I was thankful that WordPress had so many options.

Blogger 

This is definitely the second most common blogging platform – especially for beginners. It is extremely easy to use at first because when you first start out, writing, editing, and publishing posts is mainly all you are doing. However, in order to customize it very much, you have to have a basic understanding of HTML.

Blogger is perfect if you are just starting out and WordPress seems a little too daunting. If you just need the very basic options of writing and sharing multimedia, then it’s perfect for you!

Another cool feature of Blogger is that it syncs up with Google really efficiently.

Conclusion

This is all about personal preference. If you are not too serious about blogging or you’re not sure where it will take you, I recommend starting out with a free platform. As you’re defining your blog and testing the waters, there’s no real need for super fancy features.

On the other hand, you do want to look at the big picture. If blogging is something you’re really serious about or want to turn into a career, be sure to pick a platform that offers more complex features.

Worst case scenario is that you start your blog on one platform and decide to move to another. Have no fear – most platforms offer really simple and easy transfer services, so this won’t be too big of an issue!
 

Blogging 101 self hosting vs free2. Self-Hosting vs. Free

Self-hosting vs. free essentially refers to your site being held on a server that is purchased (like GoDaddy or BlueHost) or a free server (like WordPress.com). Many bloggers just stay on free hosting because they do not need the extra options that come with self-hosting. However, many bloggers want to monetize their blog and have more options in terms of appearance and functionality, so they switch to self-hosting.

Bottom line: if you want more options for your site, you have to pay for it and get self-hosting.

So what are those options? When you have a self-hosted site, you can play around with HTML (coding), plugins, advertisements, ecommmerce, and much more. You have the flexibility to make your blog look exactly how you want it to. You also have opportunities to make money based of of ads (whether they are affiliate links or pay-per-click ads).

This is the main reason why I switched over from WordPress.com to WordPress.org – I wanted to start offering sponsorships and participate in affiliate programs. I purchased BlueHost so my site transitioned over to their server. In doing this, I then had access to all sorts of customization options in terms of appearance and functionality of my blog!

I could definitely go more in-depth about this, so if you are reading and want more details, please let me know. I can absolutely write another post with more information!

Here are some popular self-hosting sites:

Blogging 101 design3. Design Your Blog

Pick a site name

I touched on this last week, but your site needs a catchy, short, and memorable name. First impressions are everything, so choose this wisely! This will most likely be your domain name as well, so keep that in mind. So many bloggers have adorable blog names, it’s pretty intimidating to try to be as creative as them.

Ask your friends and family for blog name ideas. That’s what I did – my boyfriend came up with the name of mine! Although it’s much longer than most people prefer their blog names to be, mine is very memorable and catchy so I’ve found it to work well.

Choose layout/theme

You want to pick a theme and layout for your blog that will maximize pageviews and ease of use for your readers. You want them to stay on your site as long as possible and find information quickly and easily. The layout of your blog is they key to this.

Many bloggers find that white space and a two column layout to be best. Two colums allows for enough information but not so much that it looks cluttered. White space is basically just the places on your site where there’s no text/images/video/etc. – it’s completely empty. White space has been proven to make readers slow down their reading and keep them on the page longer.

You want your page to scream simplicity, sophistication, and organized. (For an amazing example of this, check out Lush to Blush or Cupcakes and Cashmere – their layouts are perfect!)

Logo

In order to be recognizable and have brand consistency, you need a strong logo. For many bloggers, this is just their blog name written out in a script font or with some decorative element. This logo will be recurring on your site, be on your social media pages, and any press releases/stationary/newsletters/etc. you may send out to readers.

When somebody sees your logo, they will be able to remember the name and content of your blog better. Giving readers a visual representation of your brand will help give it an identity and reputation.

Signature

Many bloggers have a simple signature at the end of all of their posts. This can be done by using a plugin or manually by creating one and inserting it as an image at the end of every post.

I love signatures because it’s just one more reminder at the end of a post who the author is. It also provides a nice touch of personalization and identity – that you’re not just a computer screen. Again, just like the logo, this doesn’t have to be anything fancy!

Color scheme

Another key aspect to brand identity is having some sort of color scheme. You don’t want there to be a red and black theme on your main blog page and then have your logo be pink and yellow. That will be confusing to readers and won’t draw the connection between the two. Consistency is key here.

Many bloggers find that a simple black and white theme looks the most professional and sophisticated. When you get bored of black and white, you can easily add in accent colors without losing the original colors. Ultimately, what colors you stick to are completely up to you – have fun with it!

Fashion

Floral Summer Playsuit

11 med

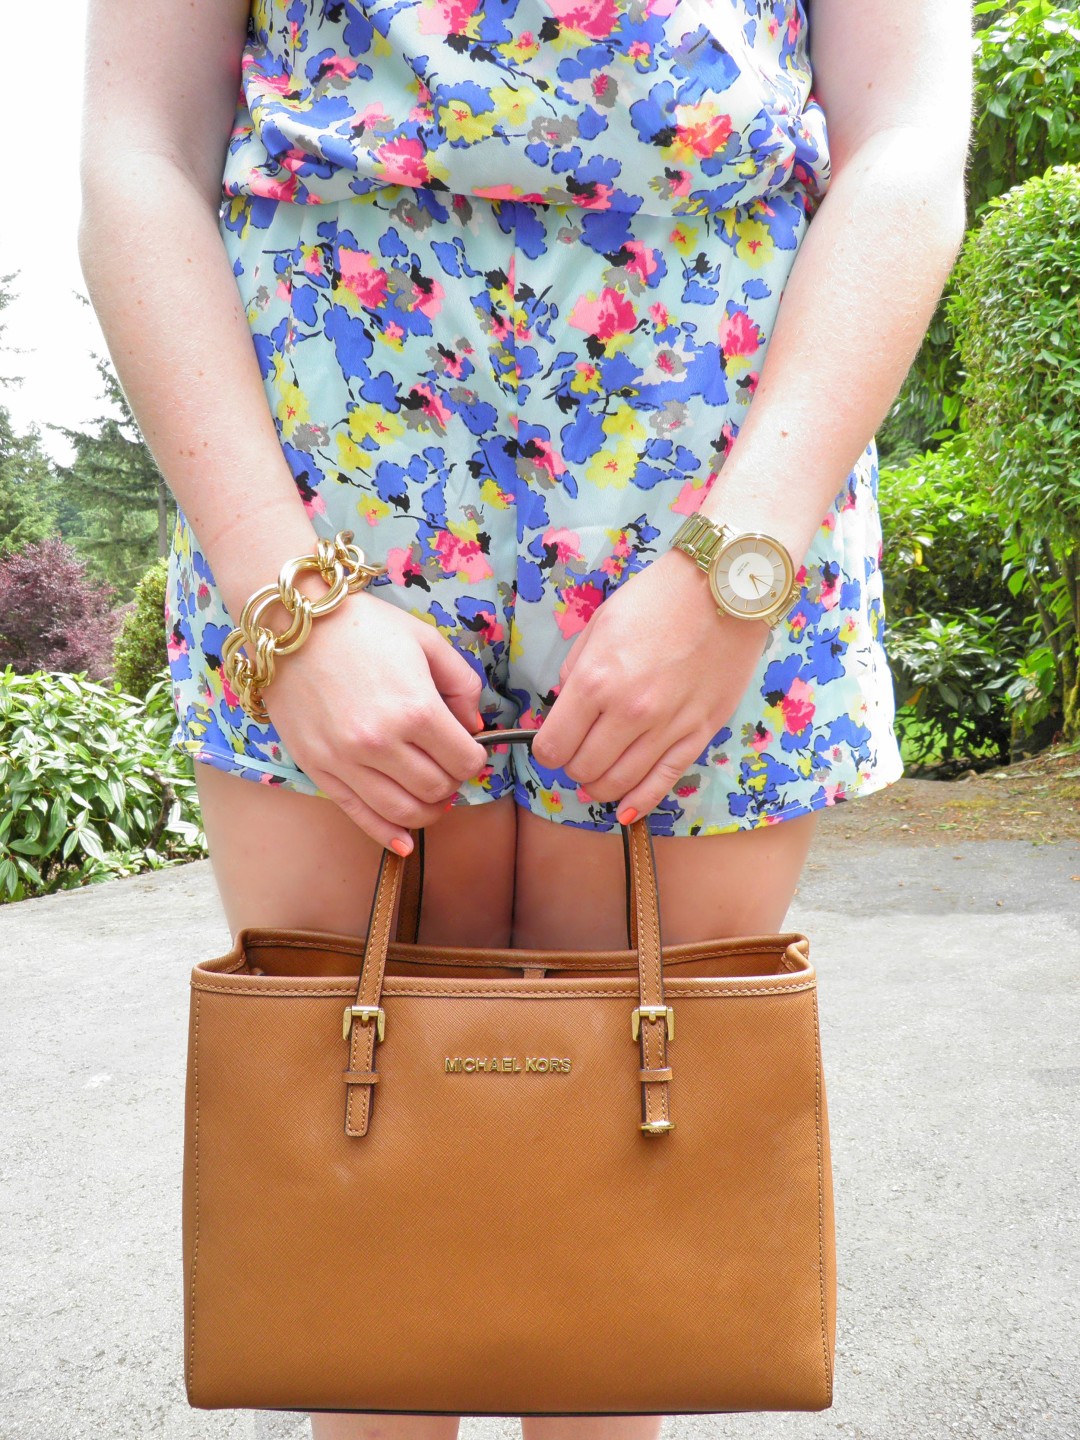
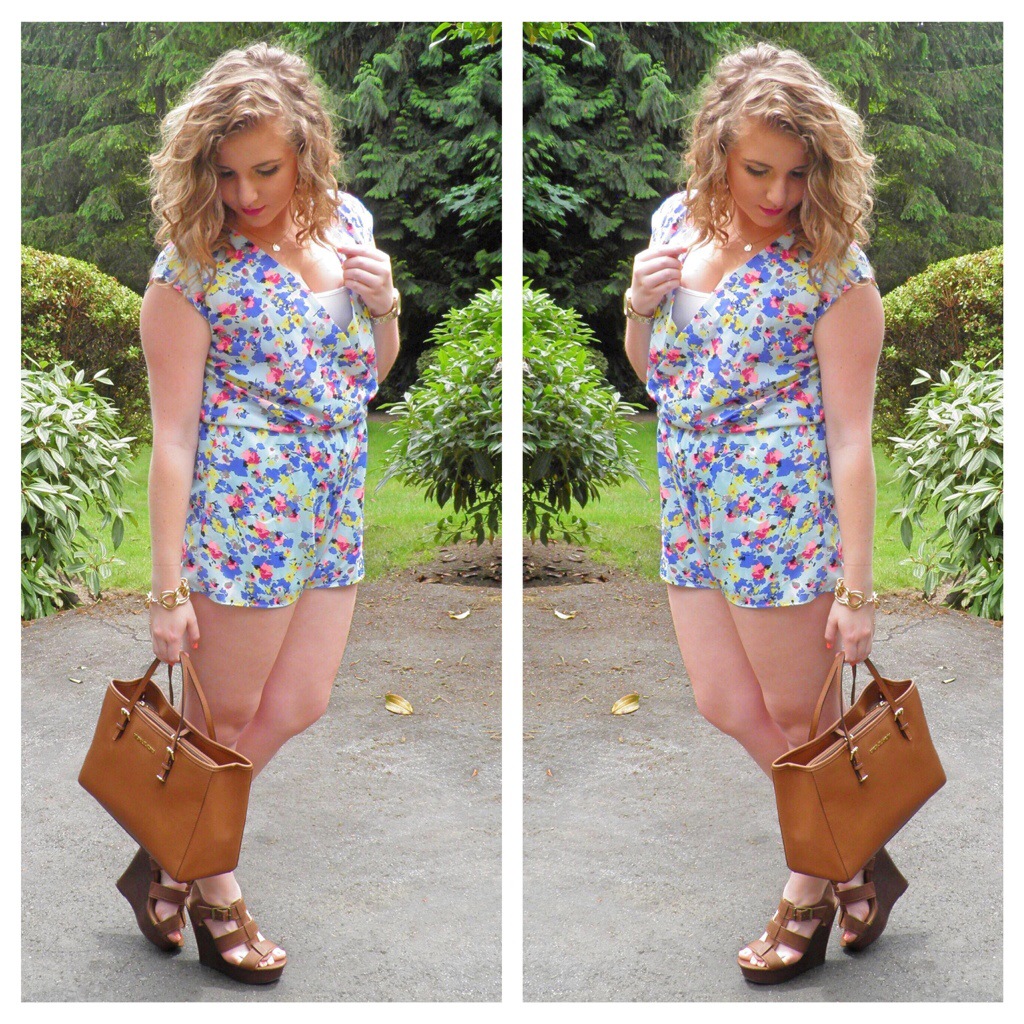
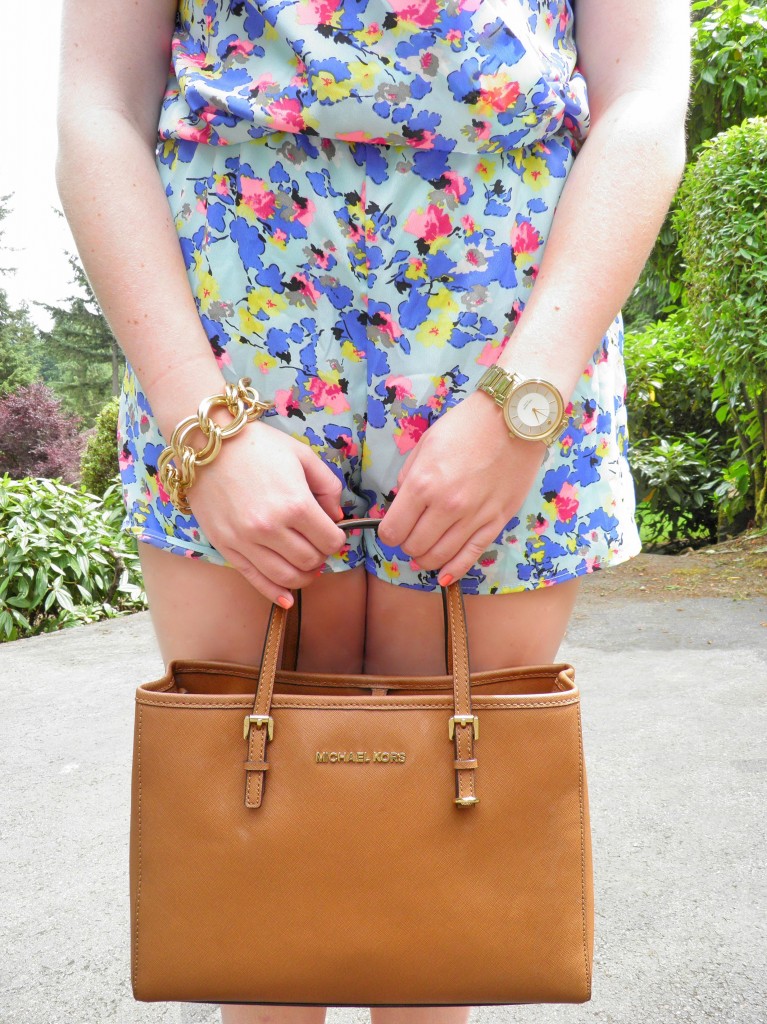
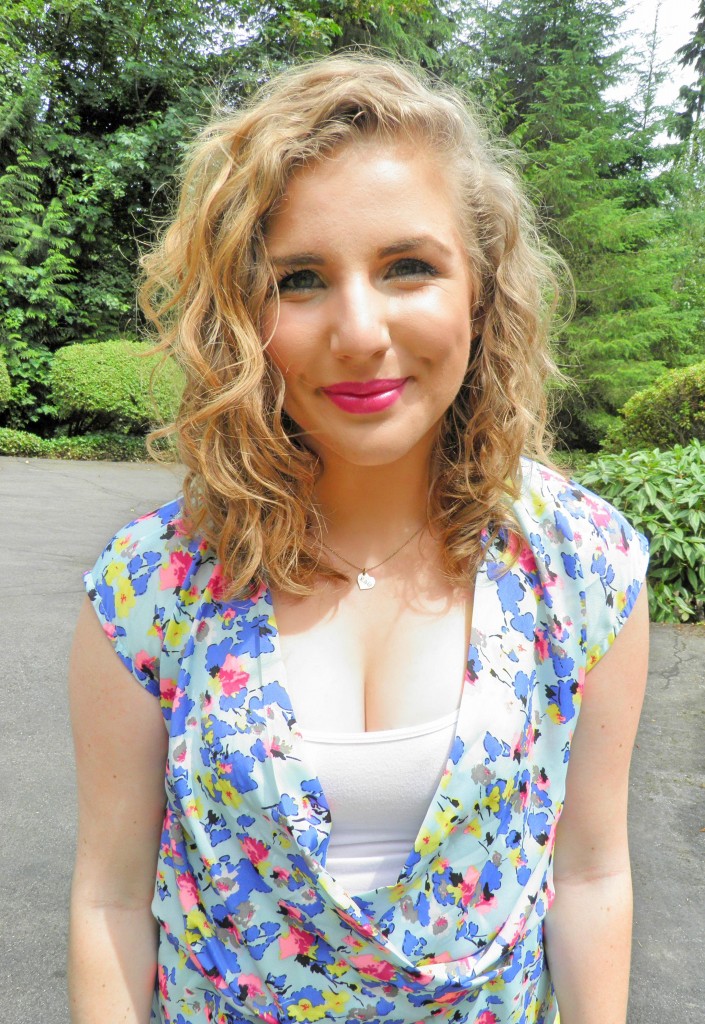
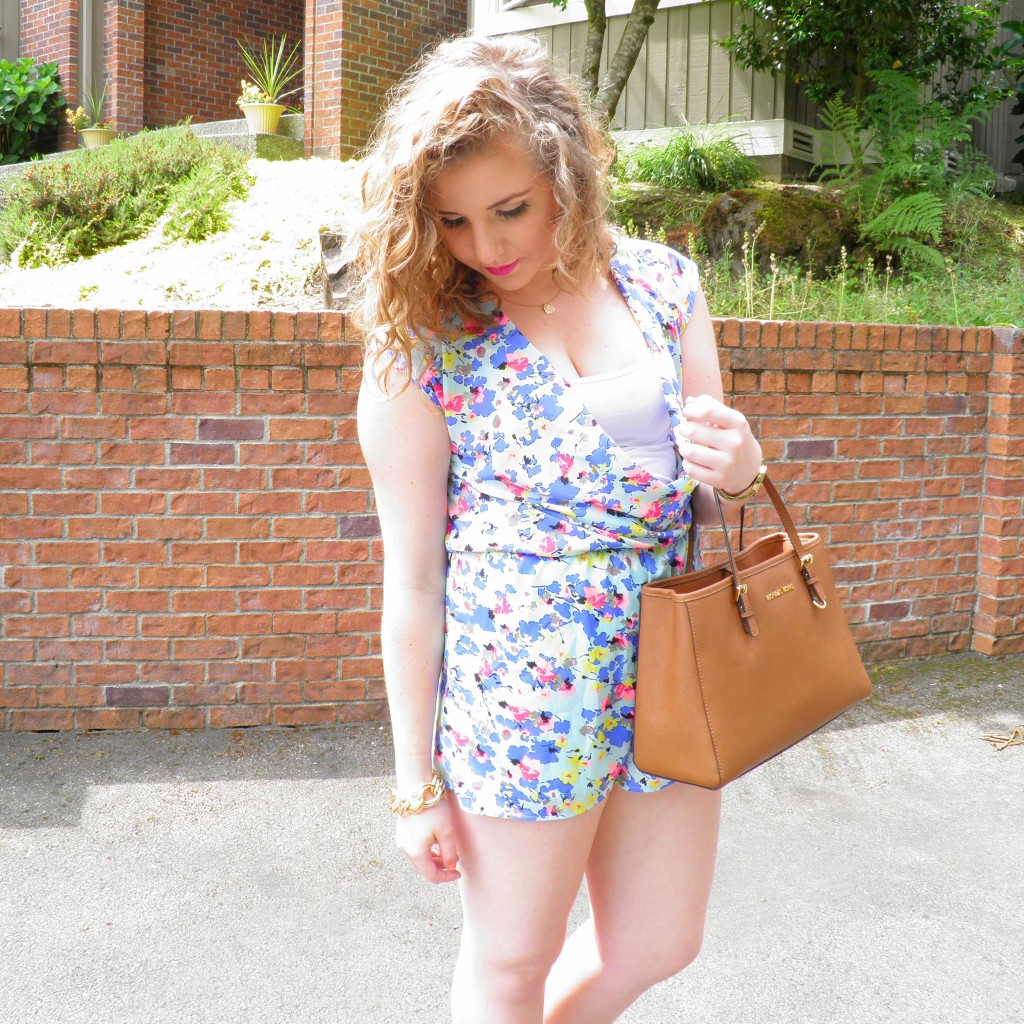
Charlotte Russe RomperSo who else is absolutely head-over-heels in love with this playsuit from Charlotte Russe? Not only are the colors and print stellar, but it fits like a glove. It’s made out of chiffon-like material, so it’s extremely light and can be dressed up or down. I can’t wait to pair it with a crisp, white blazer and some flats for my internship!

How cute would it look with some nude heels and a big sock bun? I also love the gold jewelry with it! There are just so many options with this one! I just can’t wait to wear it all the time this summer.

Definitely check out Charlotte Russe for some gorgeous rompers and playsuits for the summer – they have a great selection at extremely affordable prices.

Oh! Did you guys notice a change? I’m wearing my hair 100% natural for 30 days! It’s a personal challenge I’ve made for myself to become more comfortable in my own skin. I wrote a post all about it earlier, so check it out!

Today officially marks the 9th day of the challenge! It’s definitely been difficult to resist the urge to heat-style it, but surprisingly enough I’ve already noticed it growing more. I’ve also received so many compliments on my hair – my confidence has increased dramatically!

Playsuit: Charlotte Russe | Chain Bracelet: Charlotte Russe (similar) | Watch: Kate Spade | Shoes: Kohl’s | Purse: Michael Kors

11 med

2 med23 med

Lifestyle

Blogging 101 – How to Start a Blog

Blogging 101 Week 1 2

Blogging 101 starting tips1) Define Your Blog

Before you begin writing or designing your blog, the VERY FIRST thing you need to do is define your blog. Ask yourself the following questions:

  • What do I want to write about?
  • Why do I want to write about this? (Is it to make money? Is it to share my thoughts? Is it to encourage social change? Is it for a professional portfolio? Is it to meet other bloggers? Is it to create a community?)
  • Who is my target audience? Who do I want to read this?
  • What is my ultimate goal?
  • Do I want to make money from this?
  • How often do I want to post?
  • How much time do I have to devote to this?
  • Do I want people to comment or share my posts?
  • Will I be comfortable with my family, friends, employers, coworkers, and peers potentially reading this?
  • What is your blogging niche? If you had to put your blog under ONE category, what would it be?

2) Brainstorm Ideas for Posts

What do you want to write about? I recommend getting a notebook and bringing it everywhere with you. Whenever you get a new idea for a post, write it down! If you don’t want to carry around a notebook, make a notes section in your phone to jot down ideas.

Personally, I have a terrible memory so I’m always writing down every idea that pops in to my brain!

I promise, you will not regret doing this. You will be kicking yourself later when you run out of ideas. Even if you don’t end up writing about a random idea you had, you can always come back to it later if you need to.

Besides this, I also recommend sitting down and writing out a list of posts you could feasibly write right now and posts that would require more work (taking pictures, making a video, doing research, etc.). This way you can start planning ahead for those ones that will take more time.

3) Research Other Similar Bloggers

It will be extremely beneficial for you to research other bloggers – ones that are successful and ones that aren’t. It’s crucial to understand what works and what doesn’t. Instead of trial and error on your own blog, you can see it in action on other blogs without having to lift a finger. Find blogs that you love and then pin point exactly why you like them. Find blogs that you don’t like or that aren’t successful and pin point exactly why as well!

I recommend making a list of the aspects of a successful blog or a blog that you admire:

  • What is the layout of their site?
  • What do they blog about?
  • How often do they post?
  • Do they have a strong presence on social media?
  • Do they make money from their blog?
  • Do they vary what type of post they do?
  • How do they use multimedia?
  • Do they interact with their readers?
  • Who are their readers? Where do they come from?
  • What is their story? (How long have they been blogging, how did they get started, why do they blog, how did they become so popular?)
  • What is something you would change about their blog?
  • How would you adapt their strengths into your own?

Use other blogs as resources! The more blogs you read, the better understanding you will have for how blogs work. The more blogs you read, the more ideas you will have about your own blog. The more blogs you read, the more inspired you will be!

4) Name Your Blog

This is a fun but also crucial step! Pick something short and sweet but also relevant and catchy! Look to other blogs for inspiration for this as well.

Check back next week for another Blogging 101 Series post all about setting up and designing your blog!
Lifestyle

Blogging 101 Series

Blogging 101 Blogging Basics Square

BLOGGING 101Welcome to my Blogging 101 Series where I will address everything from A-Z about blogging. My goal here is to help new bloggers and even current bloggers design and start their blogs, manage and promote their content well, and overall get a grip on the challenges blogging presents.

I’m here to help YOU! Check back each week for a new topic (which are listed below!). I will be updating this post with the links to each new post as well, so definitely bookmark this page!

A little about me – I am a fashion, beauty, and lifestyle blogger, so there may be sections of this that do not apply to you if you’re a different type of blogger – just keep that in mind!

So! Without further ado, here is my guidebook to everything you need to know about blogging! This will be split up into a series with the following topics, so stay tuned each week!

Week 1 starts TODAY! Tune back in tonight at 7 p.m. PST for the first topic!

Blogging 101 Series Topics

POSTED: Week 1: Steps to Take Before You Start Blogging
  • Defining your blog
  • Brainstorming ideas for posts
  • Research
POSTED: Week 2: Setting Up and Designing Your Blog
  • Picking a blogging platform that’s right for you
  • Self Hosting vs. Free
  • Design Your Blog
POSTED: Week 3: Writing Process
  • Editorial calendar
  • Do’s and don’t’s of writing posts
  • Reviewing and editing
  • Giving credit/Links
POSTED: Week 4: Photography Part 1
  • iPhone Photography
  • Photo Editing Apps
Week 5: Photography Part 2
  • Posing
  • Selfies
  • Lighting
  • Digital Camera (Point-and-Shoot) Photography
  • Tripods and Self Timers
  • Best Free Photo Editing Online
Week 6: Promotion of Posts
  • Checklist of what to do for each post
  • Twitter
  • Instagram
  • Pinterest
  • Facebook
  • Bloglovin’
  • Google+
Week 7: Blogger Networks
  • What they are and how they work
  • My favorite networks
  • How to utilize them
Week 8: Monetizing Your Blog
  • Product Reviews
  • Sponsorships
  • Giveaways
  • Affiliate Programs
Week 9: Building Your Reputation in the Blog Community
  • Commenting do’s and don’t’s
  • Blogging friends
  • Networking
Week 10: Conclusion of Series, Summary, and Q&A

Blogging 101 2DISCLAIMER: I am absolutely no expert. I don’t make my living off of blogging, I haven’t been at this for years, and I do not have a huge following. But I also think this is what makes me unique – so many “Blogging 101” posts come from well-established bloggers with massive followings, their own photographers, access to Photoshop and other resources, and who make a living off of their blog work. I love reading those posts because it is incredibly inspiring and helpful to hear what their advice is to us newbies. However, there is merit to hearing from somebody not so high up in the blogosphere as well. It’s hard for a lot of us to get started when we A) Little to no social following; B) Little to no money; C) Little to no experience; D) Little to no support.
These are tips, tricks and pointers about what worked for me and I understand that everybody is different. My hope is that this helps at least a few people get a better grip on challenges blogging presents!

Please comment below if there are specific questions you want answered or particular topics you want to see covered! Your feedback is extremely important to me! Thank you ♥

Beauty

Rimmel VoxBox Champ Extras

photo1

photo1

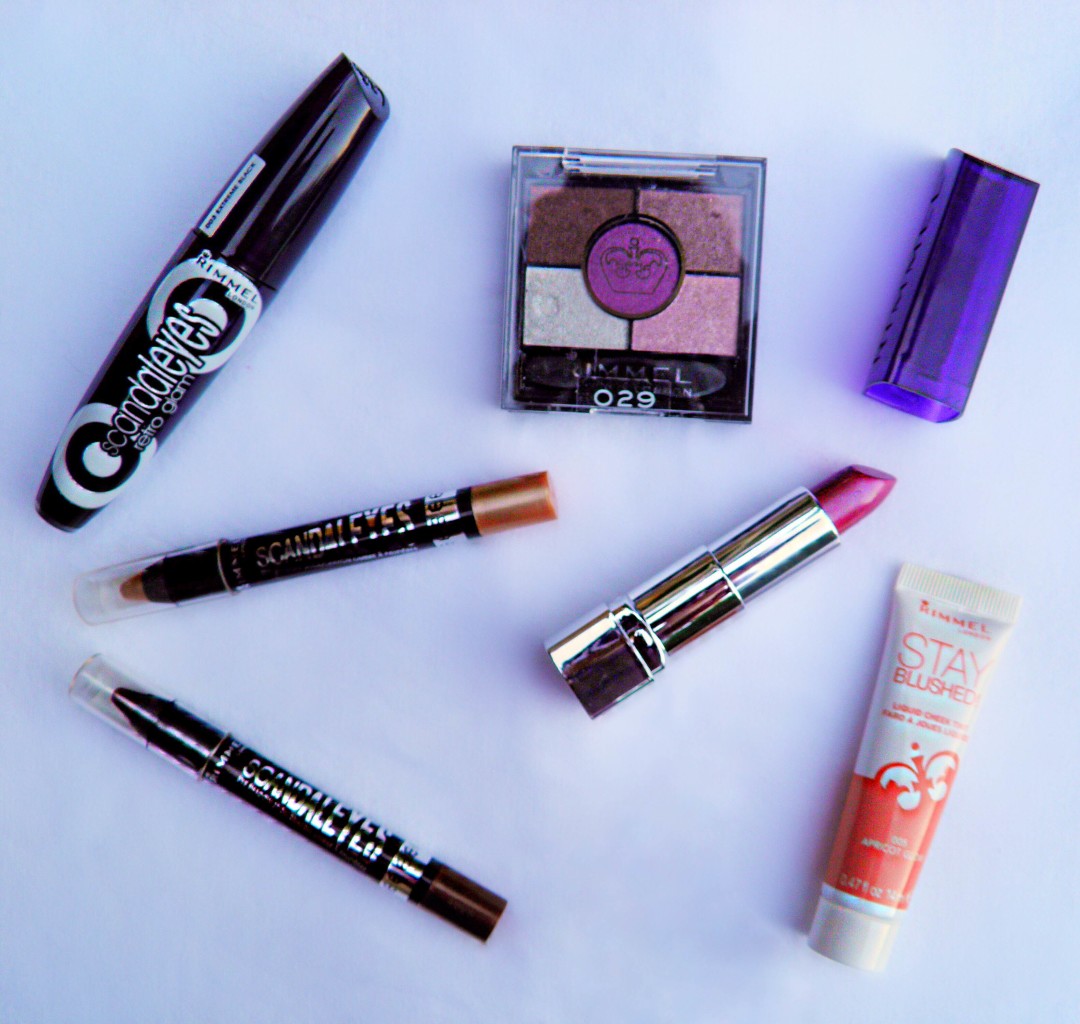
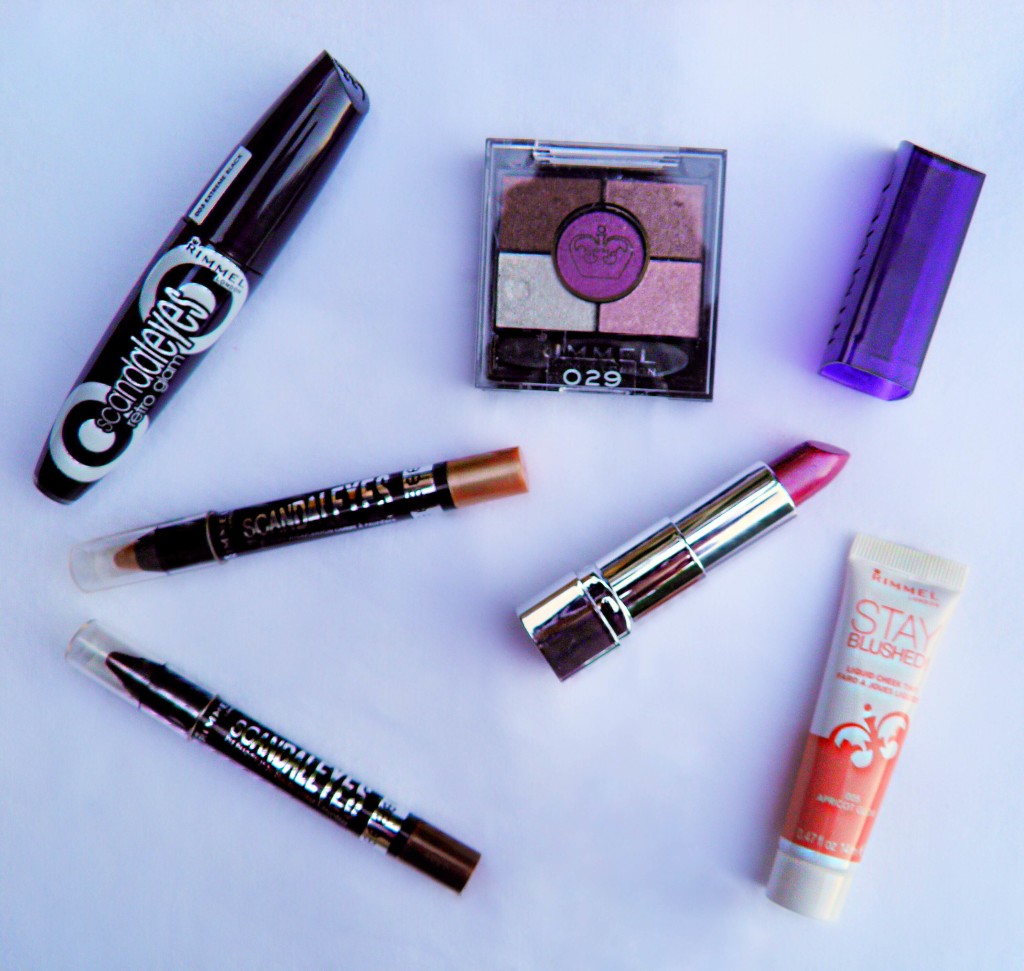
In March, I participated in the Rimmel London Moisture Renew campaign through Influenster and was pleasantly surprised last week when I received yet another box of goodies from Rimmel and Influenster. It was a thank-you package from them for participating in their campaign stuffed with some of Rimmel’s hottest new products.

If you want to watch my video review of the first Rimmel London Moisture Renew lipstick I received back in March, check it out here.

Box Contents

Review of Contents

Moisture Renew Lipstick – color #260 “Berry Rose”

Stunning color perfect for the transition between fall and winter! It’s exceptionally creamy and rich with a little bit of shimmer. 

Moisture Renew Universal Transparent Lipliner – #001 “Universal” (not pictured)

I don’t really know how to use transparent lipliner…but I’m assuming this stuff does the job!

Glam Eyes HD 5-Color Eye Shadow palette – #029 “Royal Rose”

I love this eye palette! It has lid, crease, and outer corner colors plus a lighter shimmer for eyebrow bone and the corners of the eyes. It’s super pigmented so it lasts a while.

ScandalEyes Eye Shadow Stick/Crayon – #003 “Bad Girl Bronze”

This is really rich, dark, and creamy. I don’t know if I’m a fan of the color yet but I really love the texture of it and it lasts long. I thought it would crease awkwardly on my eyelid, but it stayed perfectly in place without smudging.

ScandalEyes Eye Shadow Stick/Crayon – #002 “Bulletproof Beige”

This is a really nice everyday color to swipe on really fast when you’re in a hurry. I just love how simple yet sophisticated it looks!

ScandalEyes Retro Glam Mascara – #003 “Extreme Black”

This mascara was great because it made my eyelashes look extremely long. The one thing I would say is that it definitely focuses more on length than fullness. That being said, it didn’t clump the lashes together or leave chunks on them, so I was super happy with how natural it looked. 

Stay Blushed Liquid Cheek Tint – #005 “Apricot Glow”

This is probably my favorite item out of all of them! I’ve never considered wearing a blush with more of an orange hue – I usually just go for light pinks. I was pleasantly surprised by how much I loved this color on my skin! Since it’s a cream, it makes your skin look like it’s glowing!

What’s your favorite Rimmel London product?

Fashion

Summer Essentials

hopes dress essentials

I’m absolutely in love with Shop Hope’s recent Fourth of July lookbook! Once I got hooked on that, I kept looking around the site for so long…I think my cart had something like 50 items in it by the time I was through. I’m serious, if there was one store that I could point to that was exactly my style, it would be Hope’s.

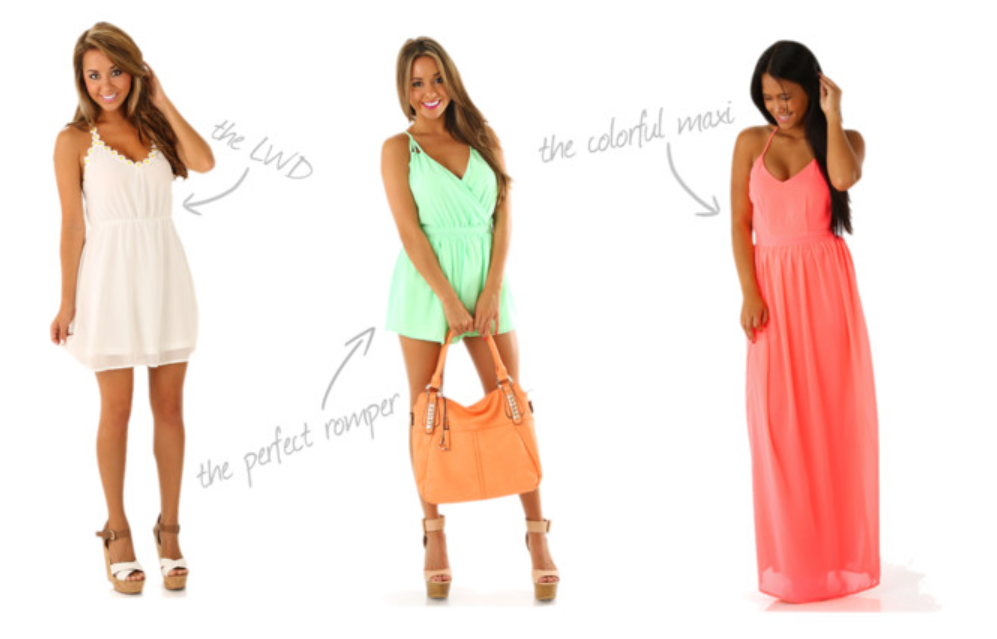
Anyways, they have the best clothes for the summer so I thought I would share my top summer essentials with y’all using items from their store! This is also part of week two of the summer blogger challenge!

Interested in a discount? Use my friend Allyssa’s rep code for 10% off!

Lyss discount code

hopes dress essentialsLittle White Dress//Romper//Maxi Dress
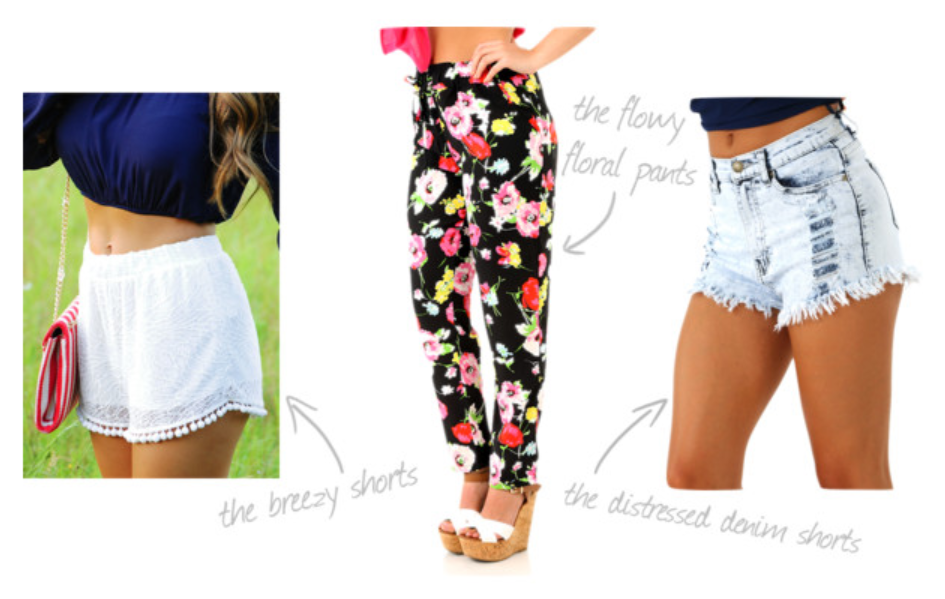
Hopes pants essentialsWhite Shorts//Floral Pants//Denim Shorts
hopes shoe essentials
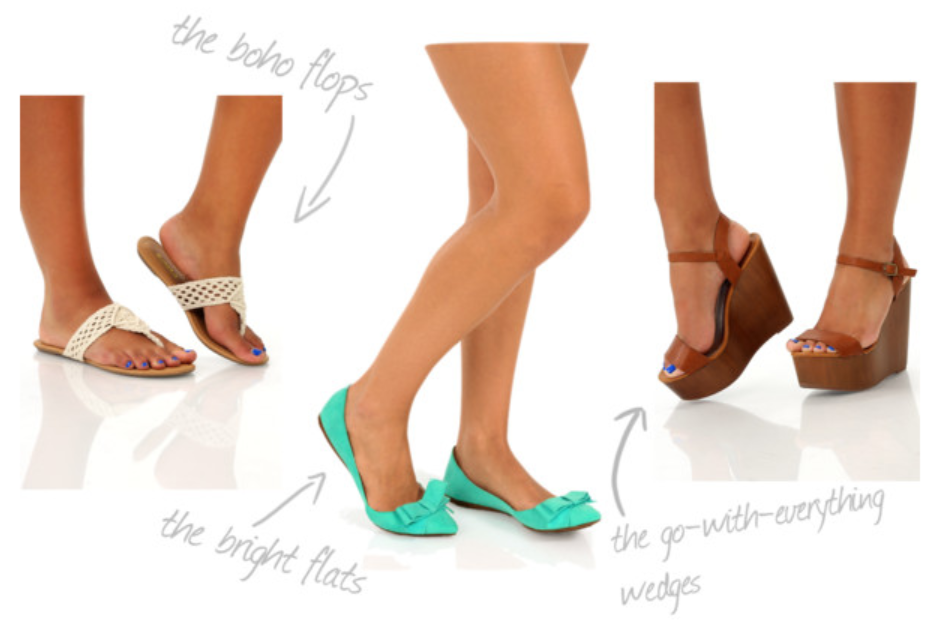
Boho Flops//Mint Flats//Wedges
Lifestyle

Meghan Trainor’s Single Tells You to Love Your Body NOW!

Meghan Trainor

Who’s seen the hilarious and uplifting music video by the fabulous Meghan Trainor for her single “All About That Bass?” If you haven’t yet, definitely watch it below. It’s super catchy but also offers up a great positive message about loving your body!

There’s been a lot of criticism about her promoting one body type as better than others, but what the real message of this song is just all about loving your body for what it is and not trying to conform to the media’s expectations. This applies to women with curvier AND thinner figures.

The media places such unrealistic expectations on us – to have curves but to also be fit and small. It’s obsession with our looks objectifies is and makes is feel as though we’re never quite up-to-par.

This song could absolutely be flipped and just as easily have a woman who has been called “skinny” instead of “fat” singing about how she loves the way she is. It goes both ways! The bottom line message is the same: you are beautiful the way you are and you don’t need to be comparing yourself to others.

all about the bass

Critics point out that she says “skinny bitch” in her song, but if you actually look at that line in context, she follows it up immediately by saying “Hey! No, I’m just playing.” She uses the phrase “skinny bitch” because that’s so often what the media labels women who are “too skinny.” She uses it to poke fun at the media and highlight how ridiculous it is to call women that.

The whole song is upbeat and light – Meghan obviously doesn’t take herself too seriously and I think that’s what makes her message so refreshing. It’s not preach-y, but it gets the point across.

Meghan does not intend to say women with fuller figures are better or more beautiful than those who are thinner. The song is all about embracing your body how it is right now and ignoring the negative messages from the media.

Meghan Trianor All About That Bass

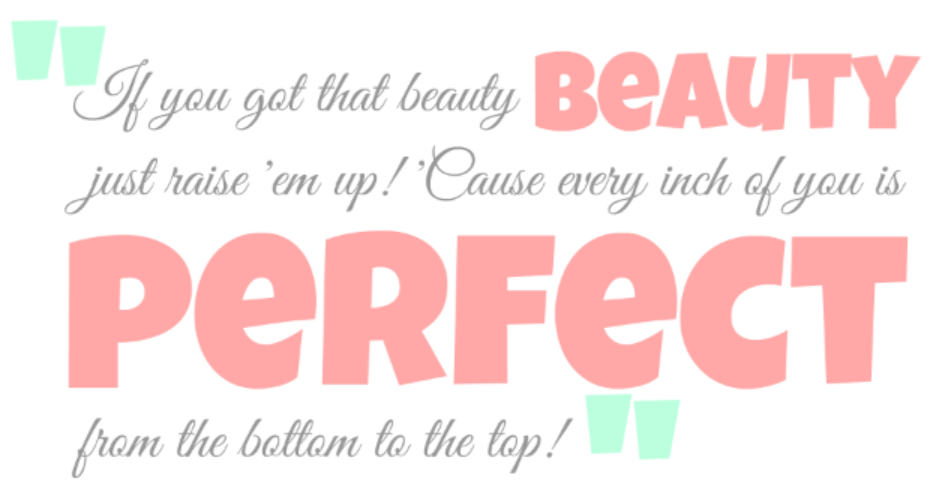
Meghan TrainorThis verse is what it’s all about. YOU are beautiful just the way you are! Don’t listen to the media because they portray an unrealistic idea of beauty. True beauty is within everybody!
Personally, I loved this song – it could definitely be my personal anthem. I found it uplifting, silly, catchy, and positive. It absolutely left me smiling and feeling good about myself – something that’s very, very rare in today’s Photoshop-dominated society.

I got yo back Meghan Trainor! I can’t wait to see what else you produce!

What did you guys think about this song? I want to hear your thoughts!
Fashion

Splurge vs. Save: Aztec Print Body-Con Skirt

20140627-124709-46029338.jpg

20140627-123703-45423267.jpg
I LOVE these Aztec print body-con skirts! Which one do you think costs more? They look pretty similar, right?

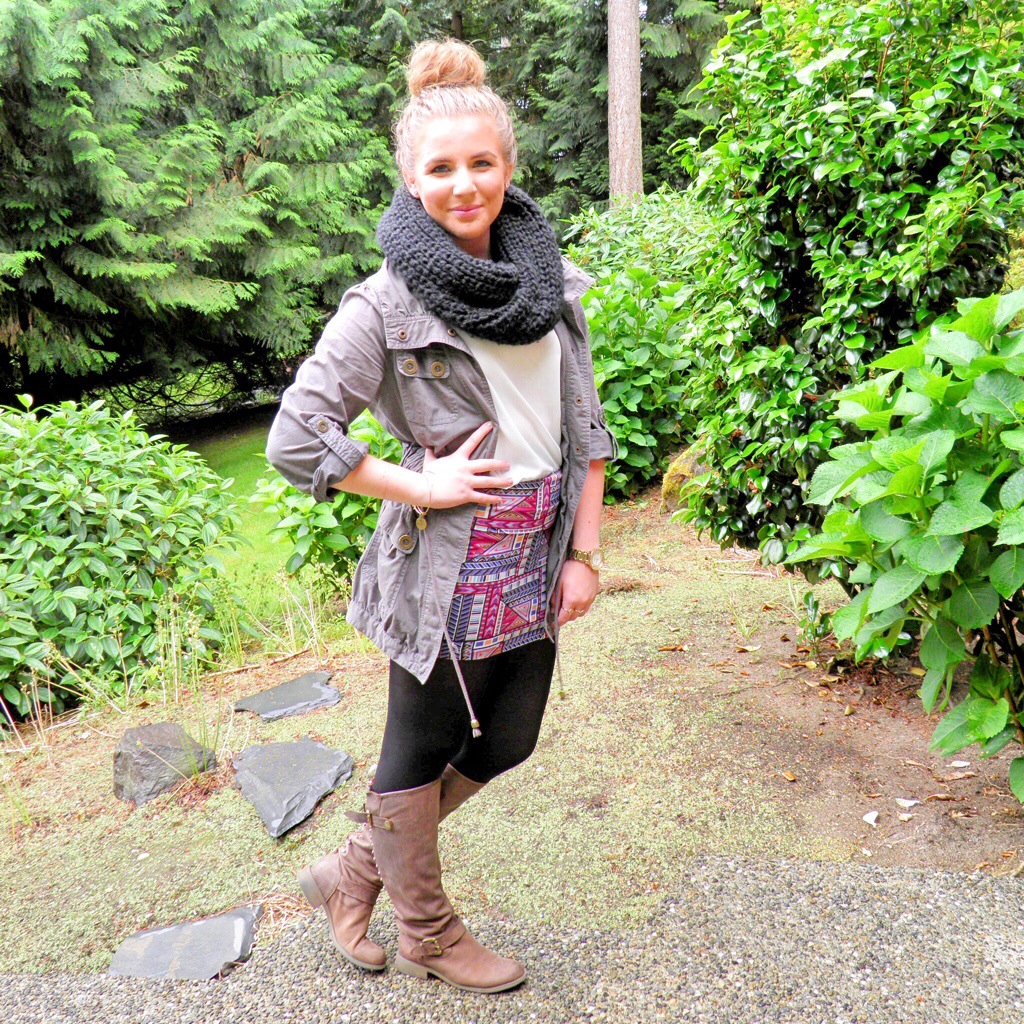
The one on the left is actually from Charlotte Russe costing only $10.99 whereas the one on the right is from Topshop and costs $68. While $68 isn’t necessarily a “splurge” for most, it definitely feels like one when you can get the same product for almost 1/7 of the price!

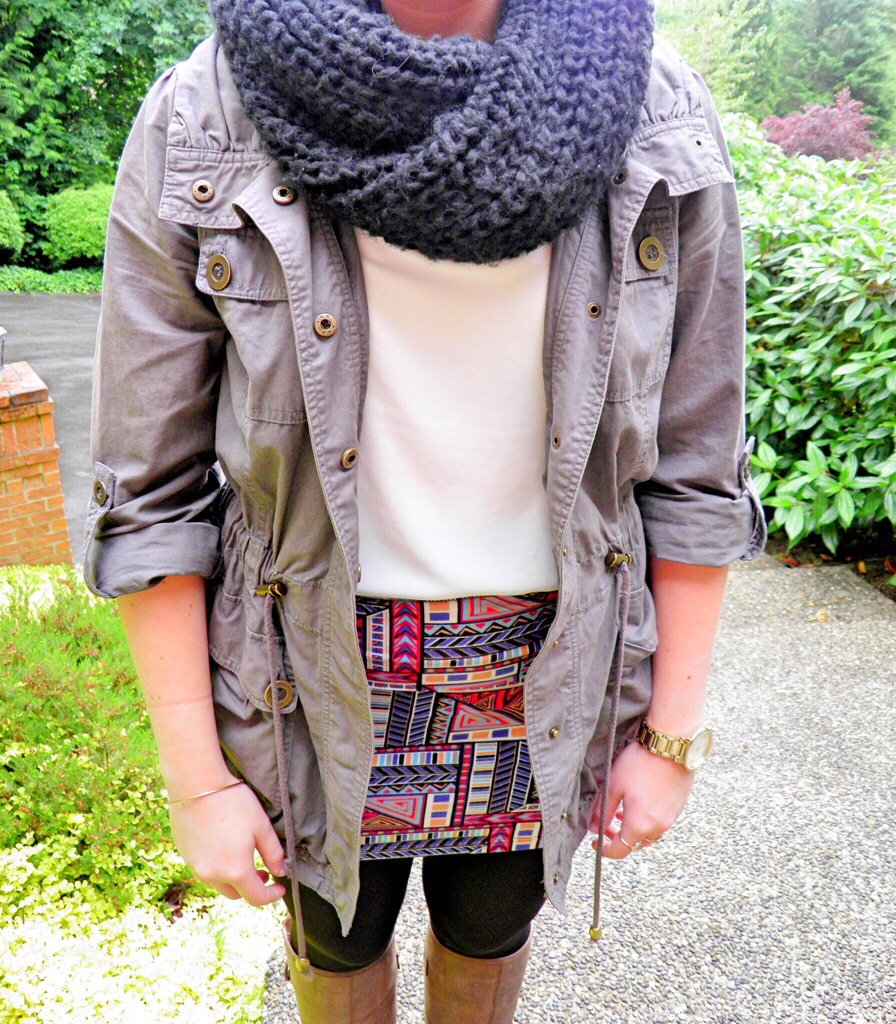
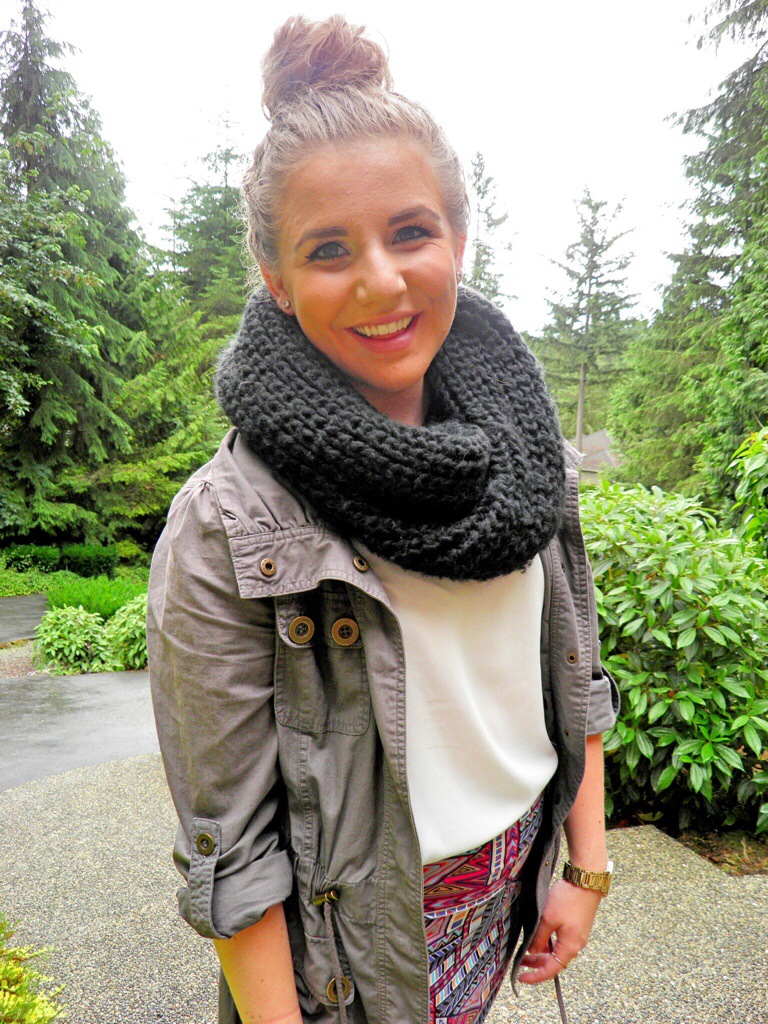
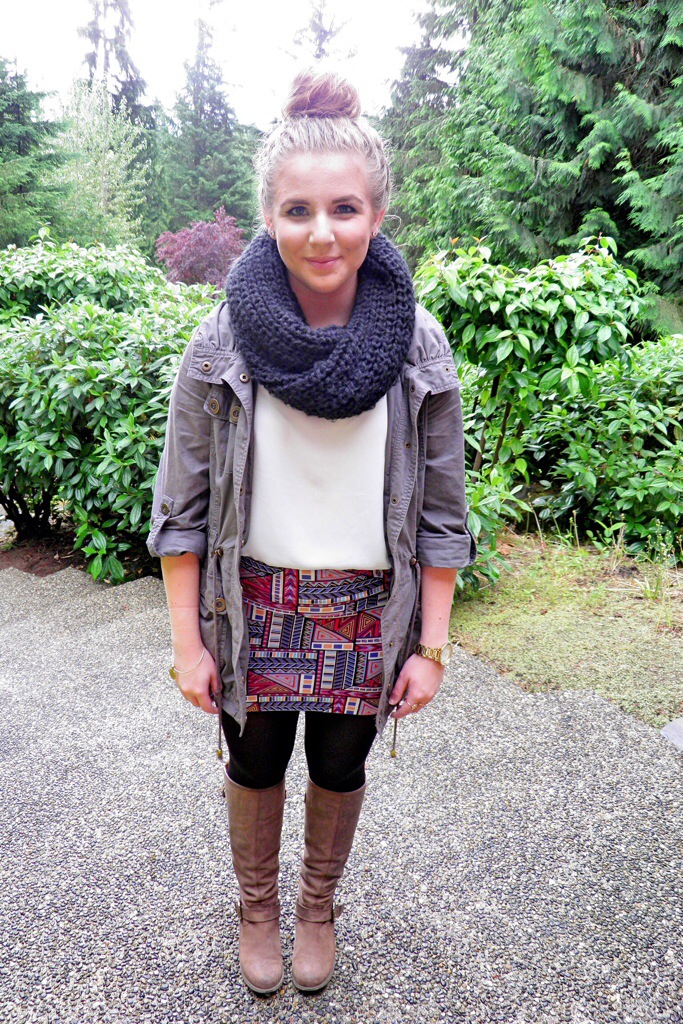
I recently snagged an even BETTER deal at Charlotte Russe – the skirt I’m wearing in the photos below cost only $5! It has the same Aztec print theme and looks just as great.

When you find a pricey item you’re considering splurging on, I encourage you to wait a few days before purchasing. During that time, research online if you can find a similar product anywhere else! At least 80% of the time, I bet you can find something similar for much less!

For more financially savvy tips, check out Credit Card Insider‘s blog here! They have all sorts of tips to help you make wise decisions with your hard-earned money.

What deals have you scored lately?
Scarf: H&M | Shirt: Nordstrom | Skirt: Charlotte Russe | Jacket: Nordstrom | Boots: Steve Madden | Tights: Target

20140627-124709-46029338.jpg

20140627-124709-46029909.jpg20140627-124709-46029611.jpg20140627-124710-46030706.jpg20140627-124710-46030318.jpg


Lifestyle

Embracing My Natural Hair

Natural Hair

I’ve made a vow to myself: I will not be heat styling my hair for 30 days.

The only exception will be if there is a very special circumstance (a wedding, a fancy work event, etc.). If I do that, then I will be using very special shampoo to make sure I don’t get extensive damage during these few exceptions.

The goal of this is to hopefully have hair at the end of 30 days that is rejuvenated, healthy, and all-natural. At that point, my natural texture will be completely back and heat styling my hair will probably be pointless because it looks so good without it.

I’ll be updating frequently with pictures and tutorials on curly styles I’m trying, my hair routine, and all that jazz. Keep reading for a few more personal details on why I’m embarking on this all-natural journey.

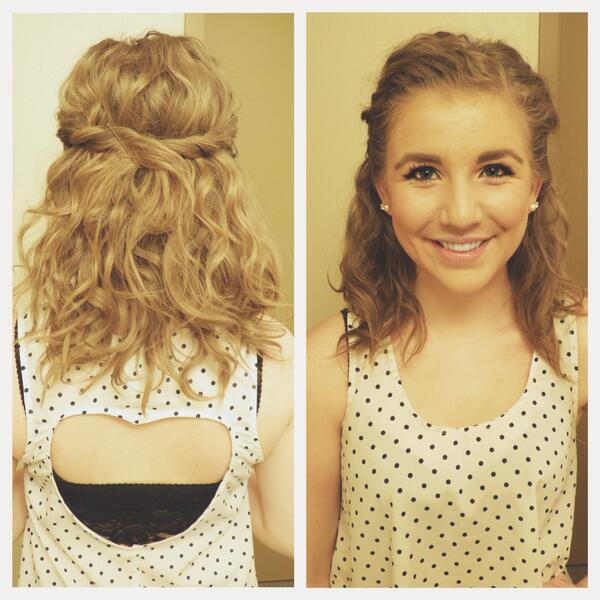
Me with my extensions (left) versus my natural hair (right):

I tell my friends to love themselves for who they are. I share articles on social media about loving your body and embracing curves. I’ve talked endlessly with my peers, friends, parents, teachers, and mentors about what a negative influence the media has on women’s self-image.

But how can I complain about people conforming to media’s standard of beauty when I do it myself?

I am a hypocrite.

As many of you know, I have struggled with my hair for a long time. Between it’s lack of growth to it’s weird natural texture, I’m never quite satisfied with it. I straighten, curl, and blow-dry it nonstop. I put extensions in because it refuses to grow. (hmm… there’s clips pulling at the roots of my hair and I wonder why it won’t grow…I’m dumb) Doing all of these crazy things to my hair has become an addiction.

I know this may seem silly to some but I hope this resonates with at least a few people reading. I think we all do things for other people – whether we dress a certain way or buy certain brands. When we take a step back, we realize it’s not really for ourselves as much as it is for other people. When you ask yourself, “Why am I doing this?” and you’re brutally honest, the answer may surprise you.

I’m not saying that every person who heat styles their hair or wears extensions is self-conscious or conforming to society, no. For some, it’s just a fun way to change up their look. I wish that was the case for me (although I kept telling myself it was just for fun).

When I really took a step back to reflect, I realized I was doing all of this crap to my hair because I genuinely thought people liked me better because of it.

Realizing that, I felt stupid. Why do I even care about the opinions of people who would prefer me to be something I’m not? Why don’t I value those who love me for who I am naturally (curly hair and all!)?

So I let go. I let go of what others think of me. If somebody decides they don’t like me as much just based off of the texture or style of my hair, then I don’t want them in my life. It’s as simple as that.

The people who truly love you won’t care what you look like.

I hope y’all love me because it’s about to be a curly, frizzy mess on my blog for the next month!

Have you ever struggled with an aspect of your appearance? What have you done to cope with that?