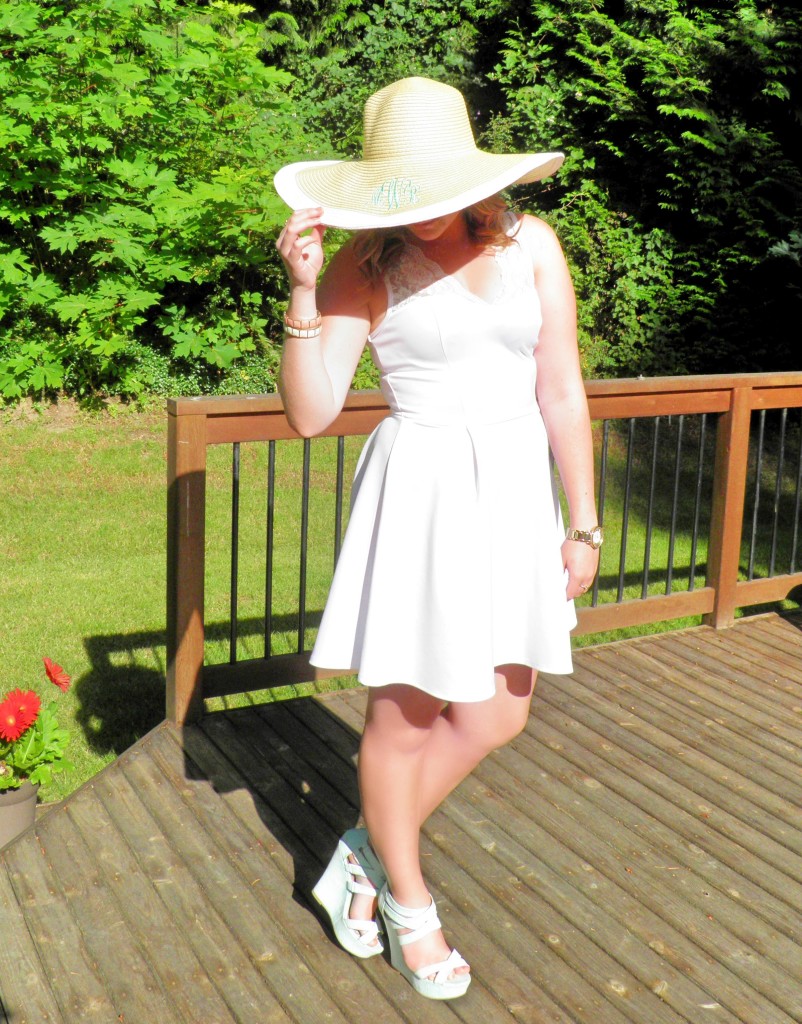
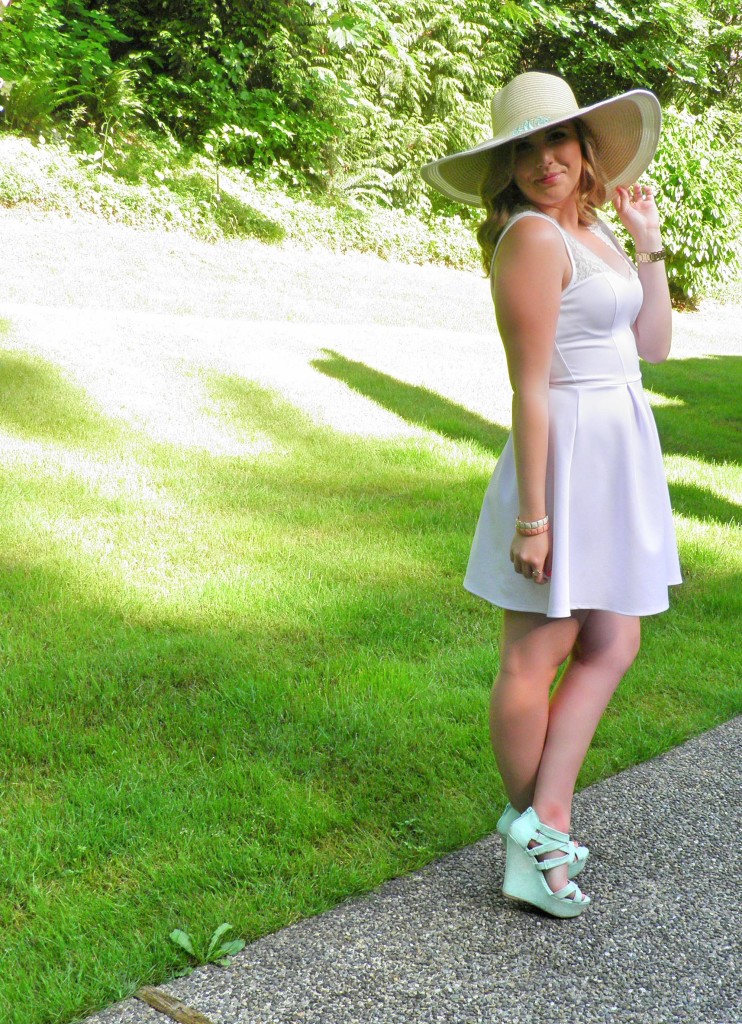
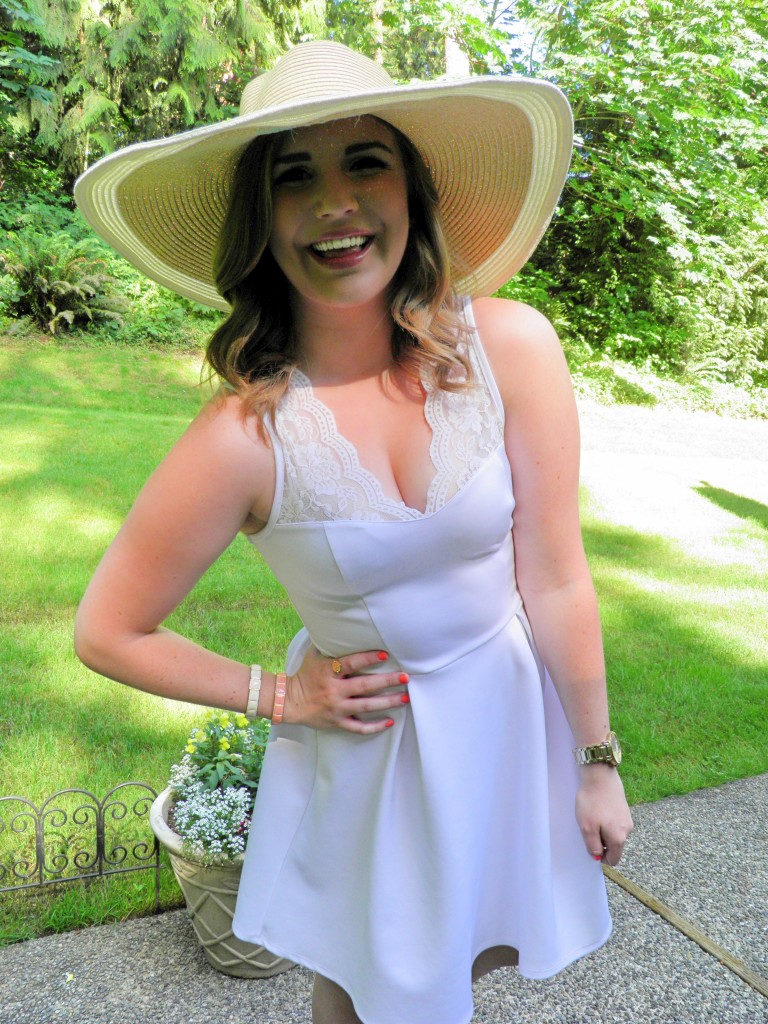
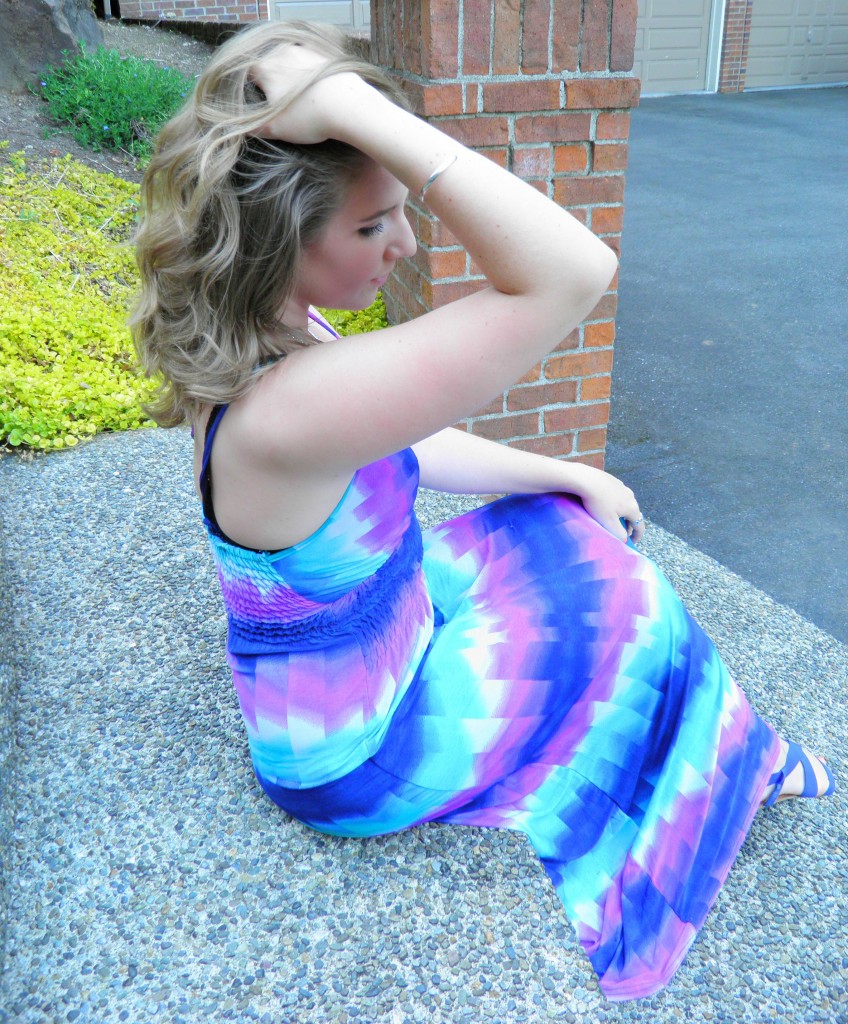
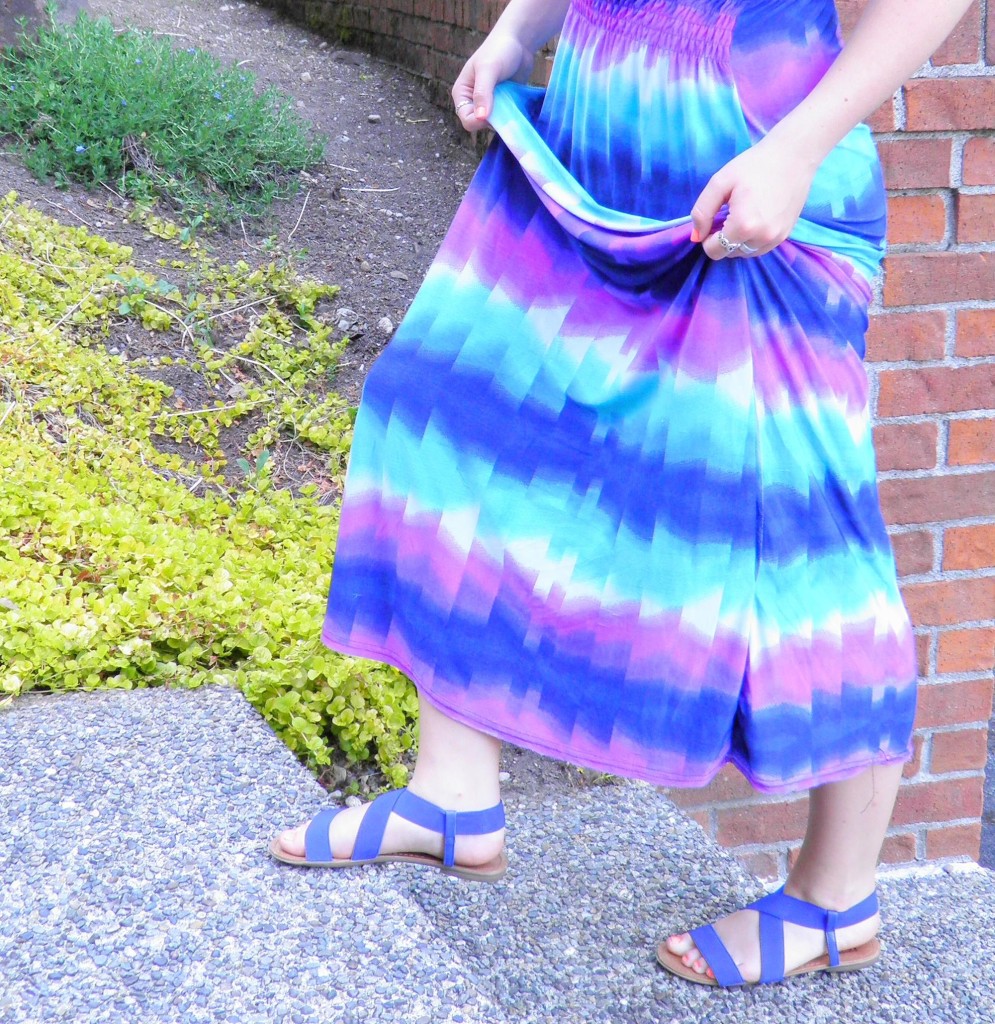
 Photography is a tricky subject for me because I don’t have a photographer to take my pictures. For the most part, all of my pictures are taken by me on a self timer with a point-and-shoot camera I bought over five years ago. Needless to say, I am far from an expert.
I’ve recently started looking for a photographer willing to work with me for trade (I promote their business in exchange for pictures) and have already had so many great people reach out to me expressing interest. Now I just have to pick the right person!
This section of my Blogging 101 Series will be focused on do-it-yourself photography: iPhone photography, editing apps, point-and-shoot photography, tripods and self-timers, and free photo editing online. I hope you find this useful! Please ask away if you have any questions at all and I’d love to hear if you have any other tips!
iPhone Photography
If you are just starting out as a blogger, chances are that you have yet to purchase a nice camera or know of any photographers (or even have a budget for one!). Even though I’ve been blogging for almost a year, I don’t have money for a photographer and I still have a pretty crappy camera.
That being said, I rely on my iPhone for a lot of my pictures – especially when I’m on the go.
Here are some great tips for getting the perfect snap on your phone’s camera:
- Know your options – you can take photos in a normal size, square cropped (great for posting directly to Instagram!), or panorama.
- Focus, focus, focus – the lighting will completely change based off of where you tap on the screen to focus (see the pictures below for an example of this!)
-

-
Focused on the sky
-

-
Focused on the window frame
- Pay attention to lighting
- Take multiple shots of the same thing – sometimes it’s very easy to get a blurry picture with a cell phone because your hand is shaky and they aren’t like professional cameras in that they auto-adjust to that
- Pay attention to your surroundings – simple backgrounds look better than those that are cluttered
- Don’t use the zoom. It dramataically decreases the quality. If you want to get closer, you need to physically get closer
- Make sure the lens is clean
- Don’t use the flash unless you absolutely HAVE to! If an image is too dark, adjust the brightness later or try to adjust the focus
Photo Editing Apps
This is by far my go-to photo editing app. There are so many great tools you can use such as a camera, fun filters, basic tools, crops, and borders. It has everything you could need – best $2 I’ve ever spent!
This is my go-to photo editing app that is like Photoshop in the sense that you can whiten teeth, eliminate blemishes, etc. It’s great for on-the-go blogging when you don’t have access to a computer (or can’t afford Photoshop).
-

-

-
Before (notice zits)
-

-
After (no zits!)
I primarily use this app when I have a photo that isn’t a square (meaning it won’t fit correctly on Instagram). You can easily zoom an image out so that it fits in a square frame and then upload to Instagram! I also love their little doodles and phrases you can slap on – super cute!
This is a good alternative to PicStitch – it’s basically the same thing. You can make collages really quickly with this app.
This is my favorite filter app. They have ones that look very natural, which I love, and they also have the typical editing tools most apps have. Some people are die-hard loyal VSCOcam users and exclusively use it, but I find it more supplemental.
This app has an abundance of filters, but what I especially like is the option to add light. You can add light spots or sun beams to your pictures which is always super fun!
Such a great app for adding font to your images. There’s endless options for exactly how you want to format it!
The following topics will be covered NEXT WEEK! I’m so sorry for the inconvenience. I’ve been out of town and things have been hectic, so I didn’t get around to it. But please come back next week for Photography Part 2!
- Digital Camera (Point-and-Shoot) Photography
- Tripods and Self Timers
- Best Free Photo Editing Online














 The Bread and Butter of a Quality Post