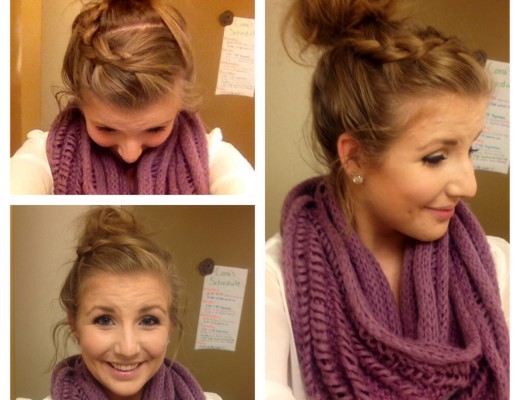
Love me some coffee and Diet Coke, but boy do they take a toll on my poor teeth. Luckily, I discovered the easiest way to safely whiten my ultra-sensitive, yellowing teeth at home! Read on for more details on how to whiten teeth at home.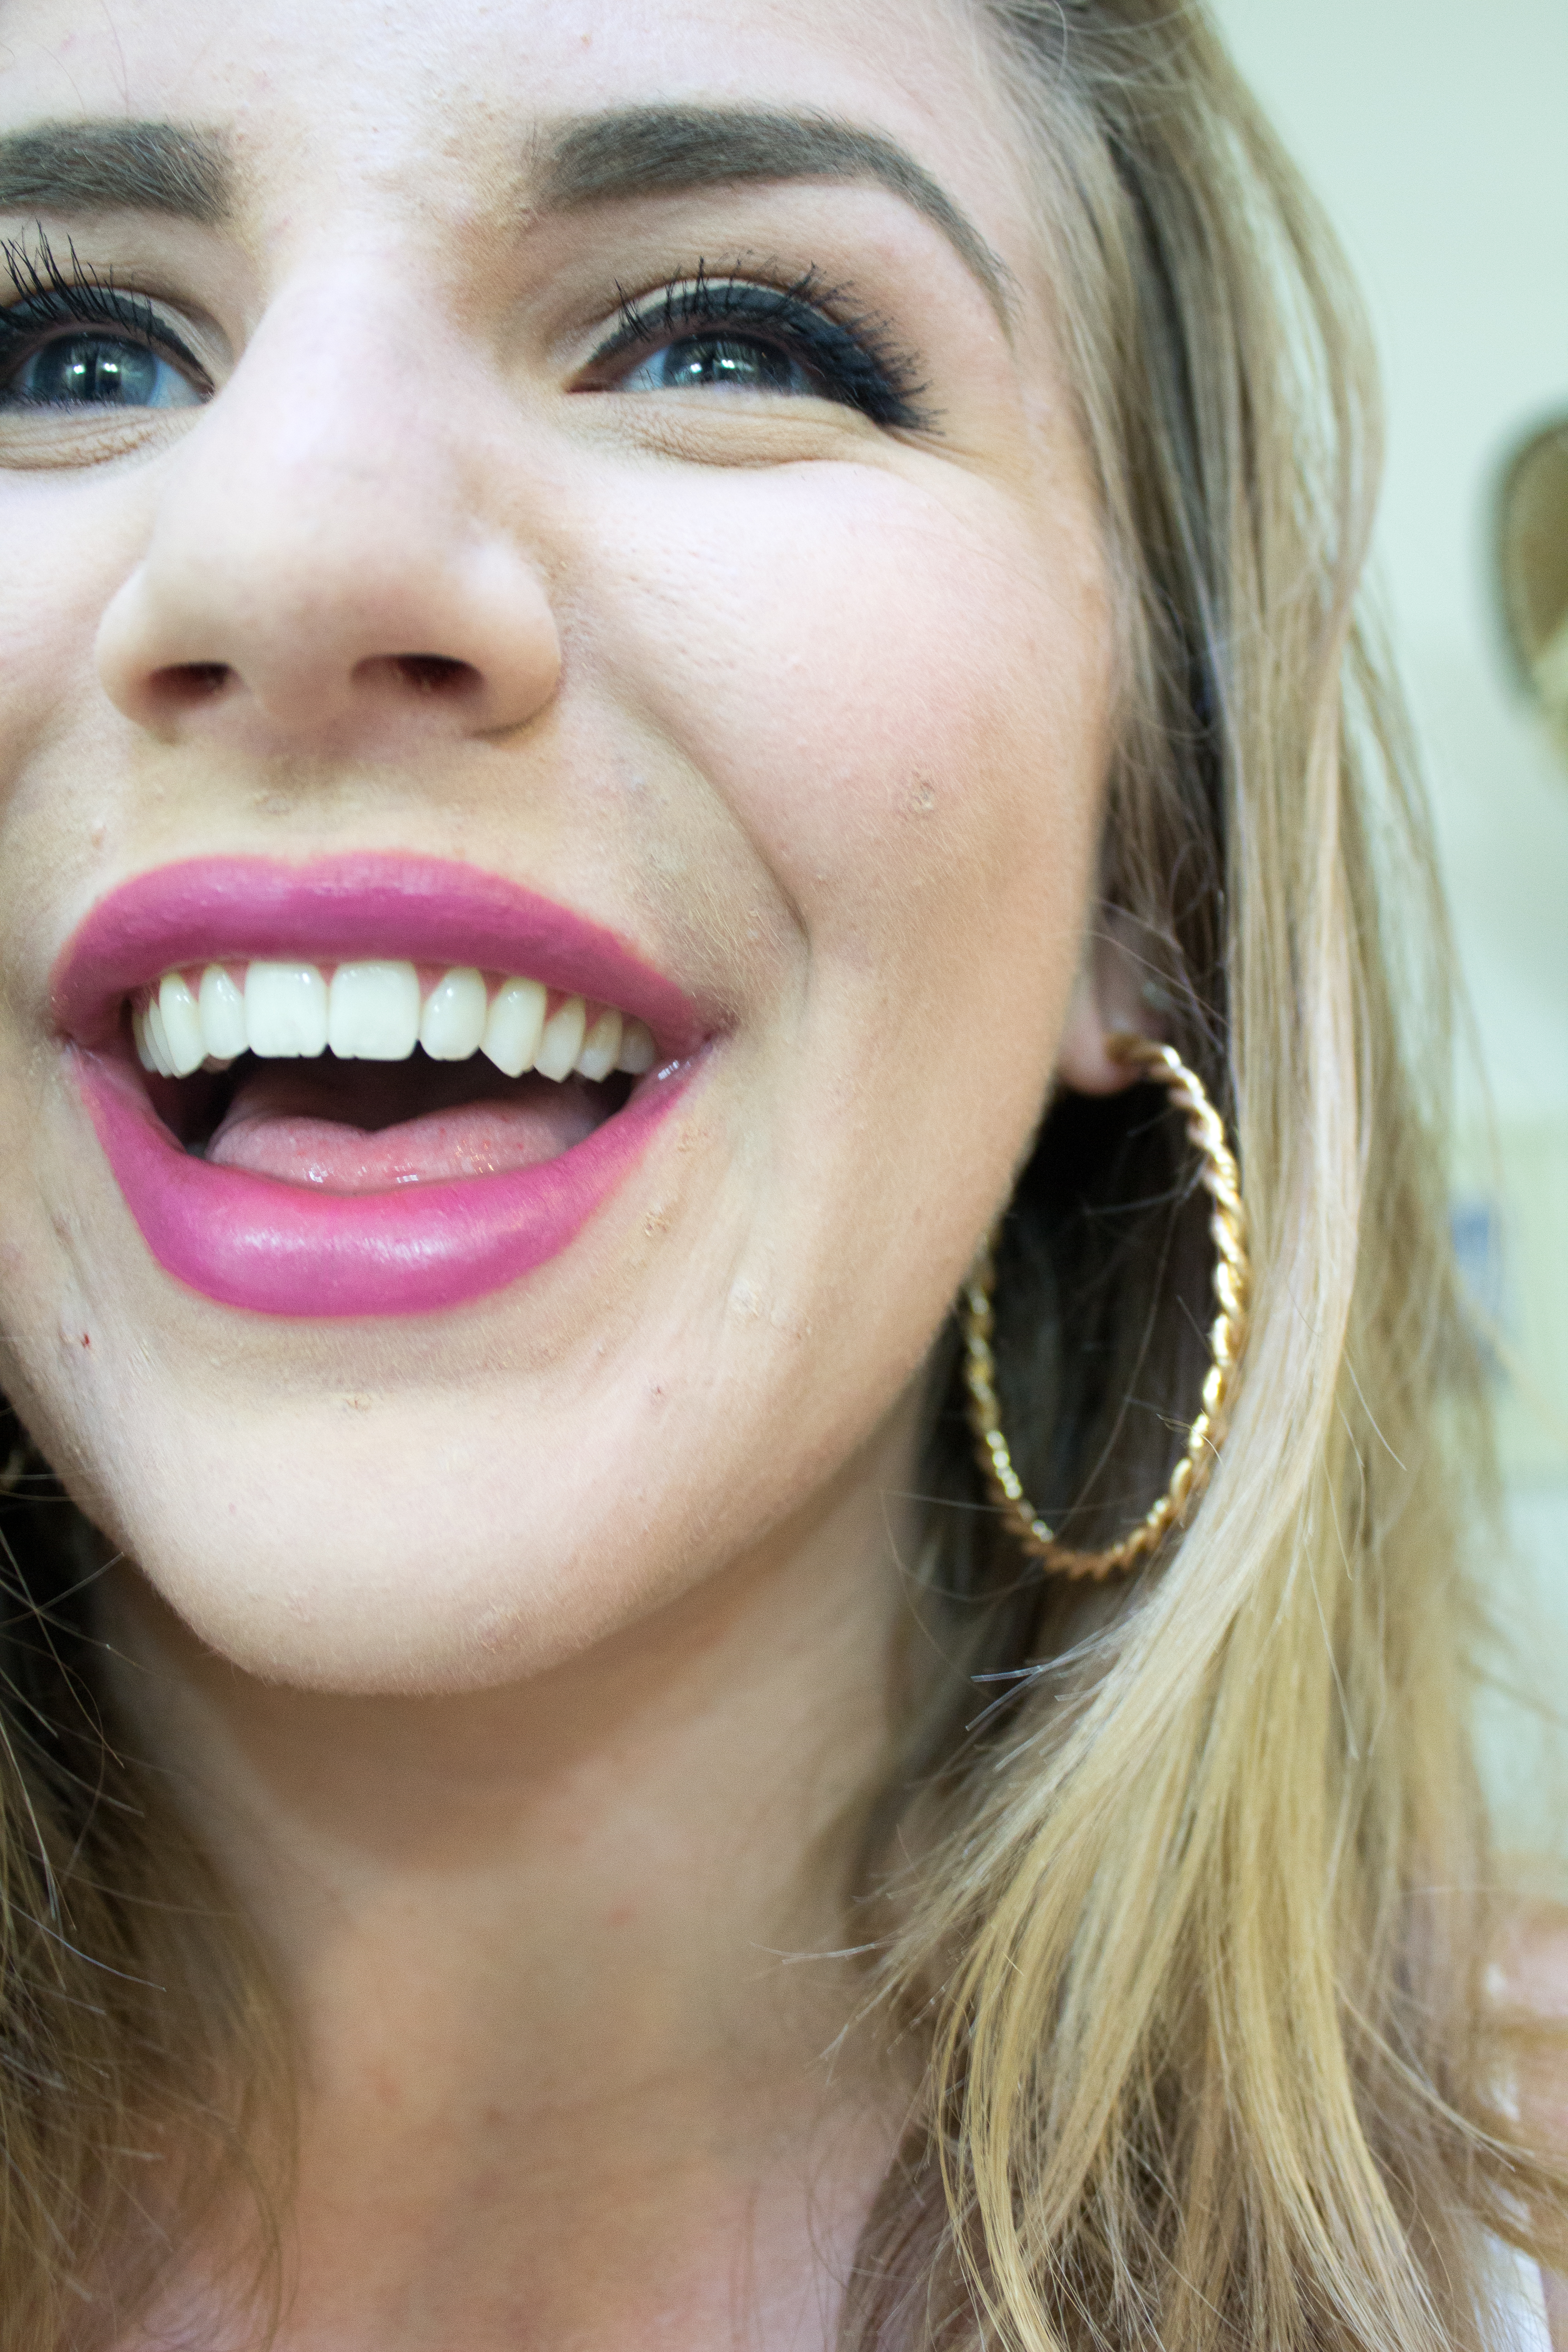
Home Remedies For Teeth Whitening
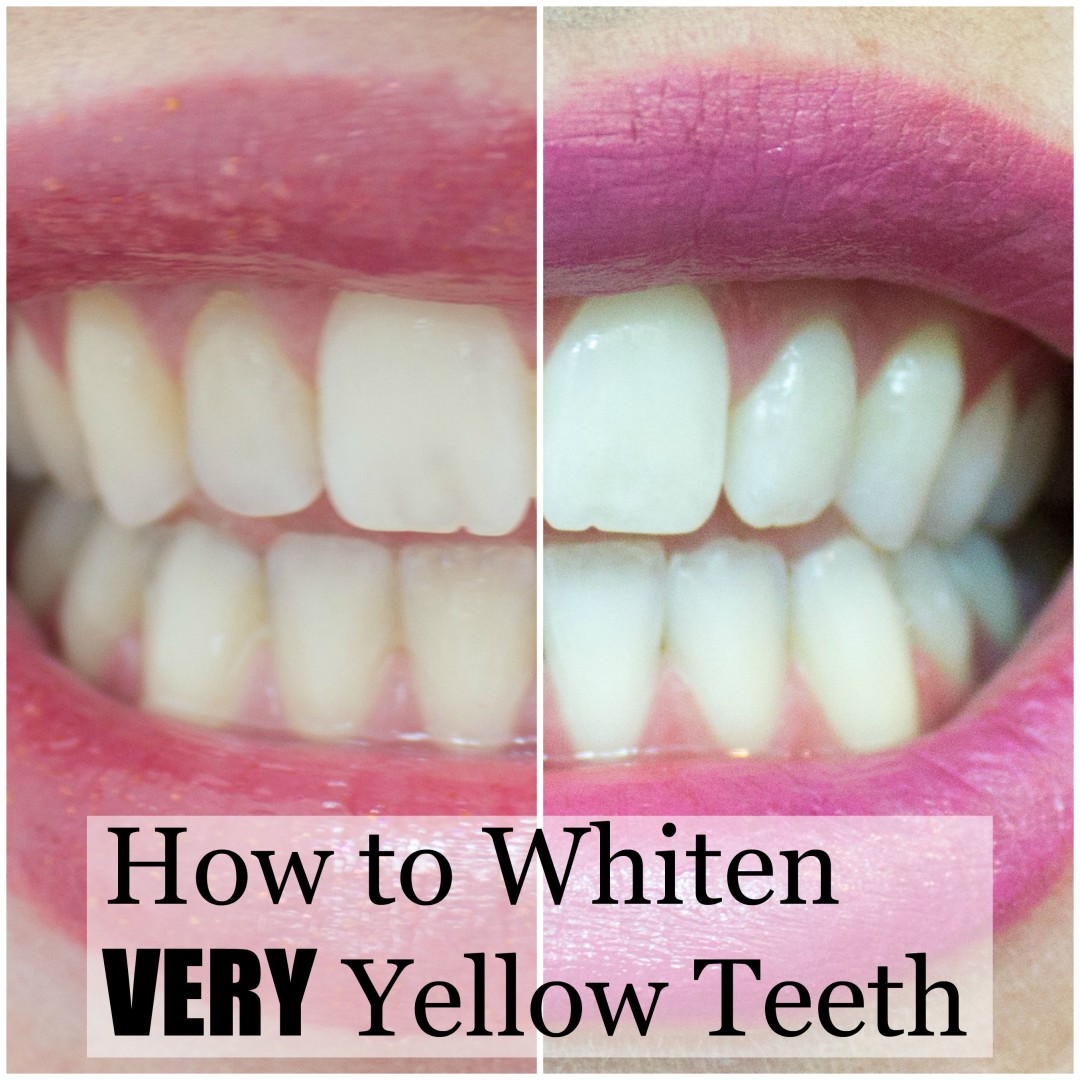
See? Look how happy I am with white teeth! All jokes aside, I feel so much more confident about my smile.
So what’s the secret you may ask. Well, I have been using the amazingly user-friendly Smile Brilliant whitening trays. I used to use the Crest Whitening strips, but for the pretty hefty price, they really didn’t do much for me. I decided to try out a different method – custom fitted trays.
Typically, getting custom fit trays from the dentist would cost upwards of $500 – which is money I do NOT have. Smile Brilliant offers a more budget-friendly alternative: custom whitening trays and gel for under $200. The best part is that you can do it all from home without having to go to the dreaded dentist.
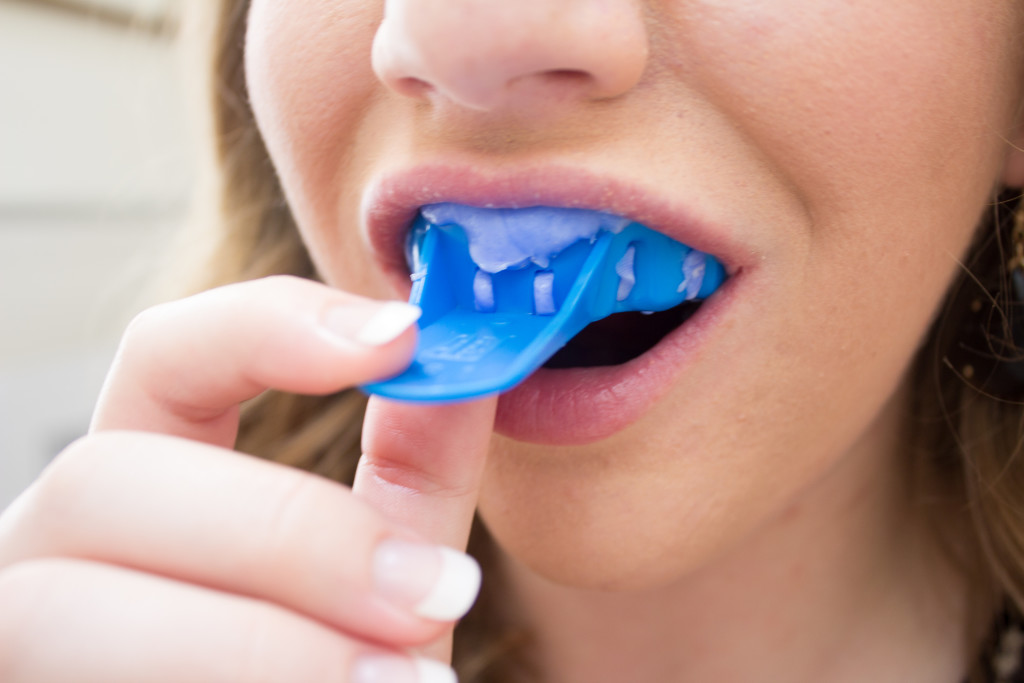
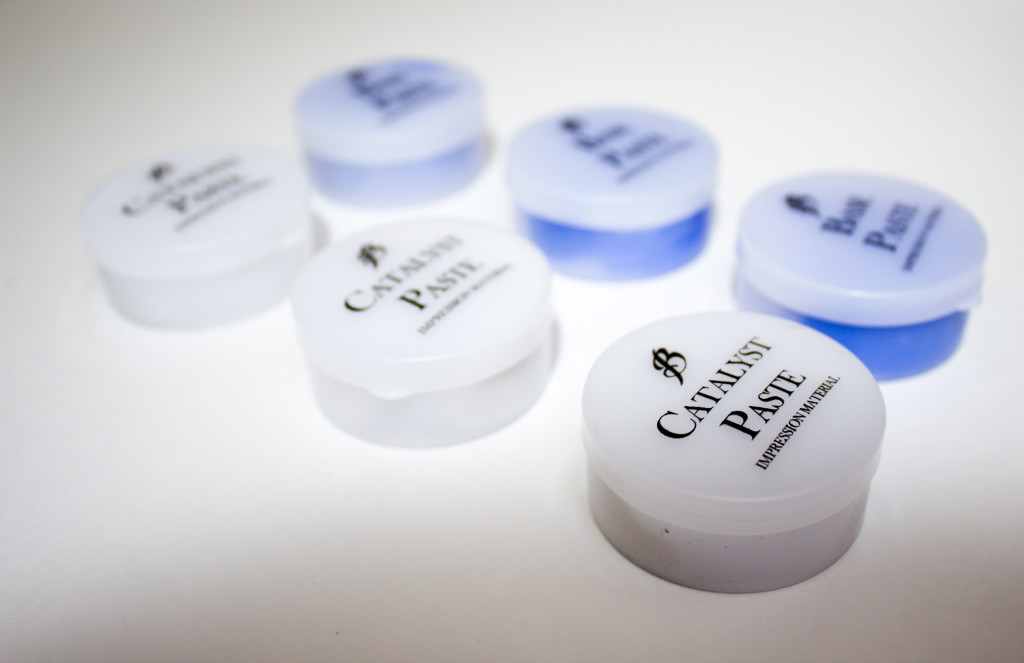
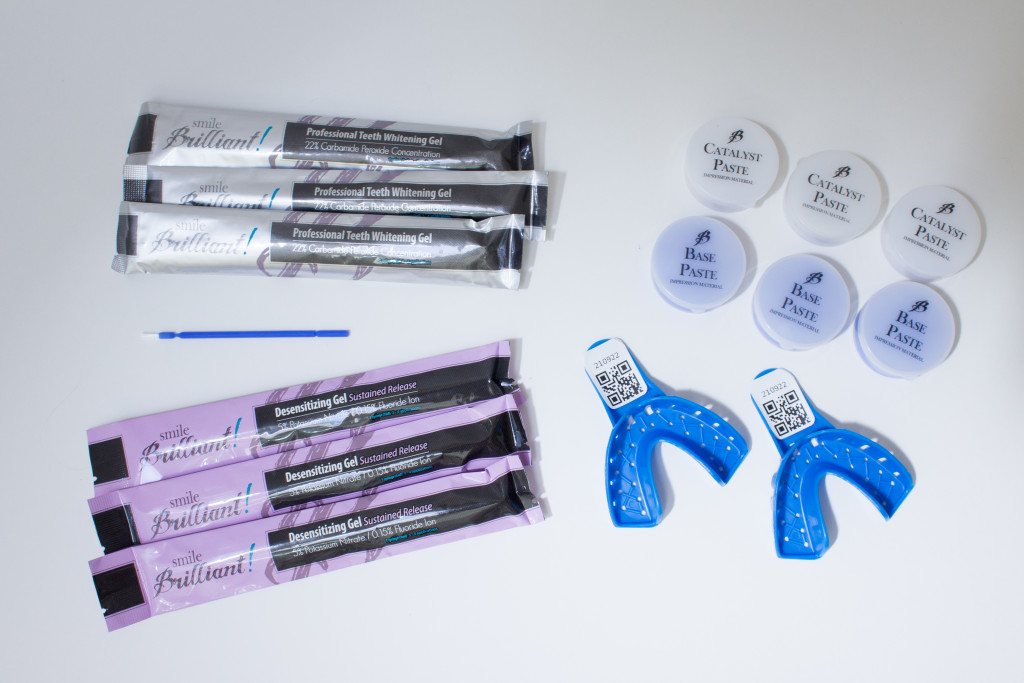
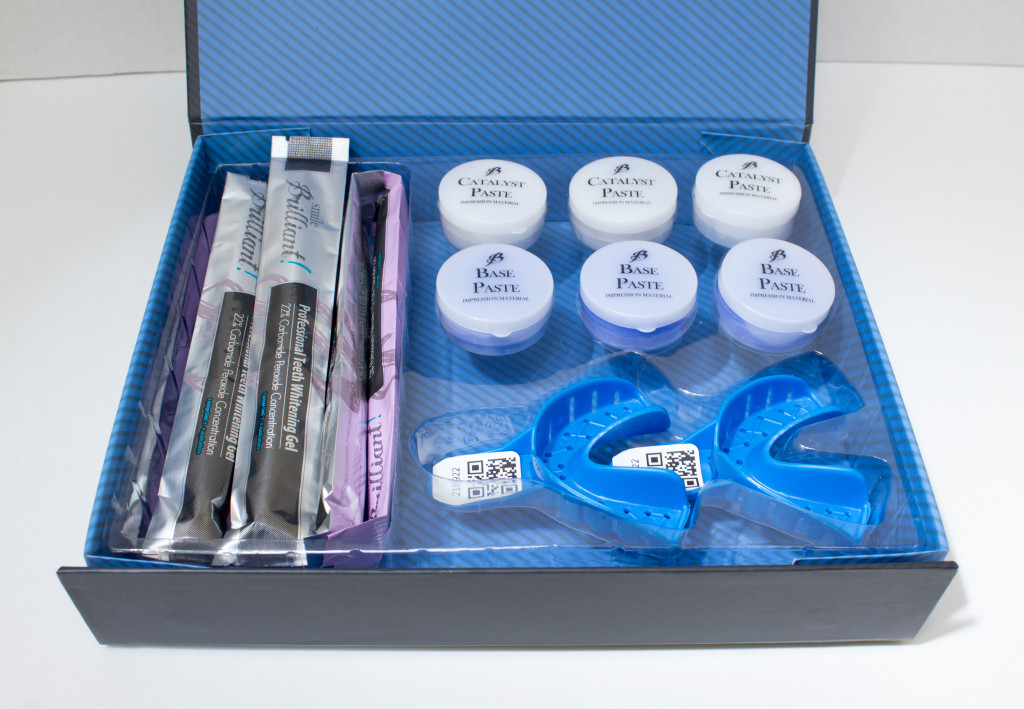
So how does it work? You receive super easy to use molding materials to copy the shape of your teeth. I promise, it’s super simple and takes no more than ten minutes. Next, you ship those molds back to Smile Brilliant and within just a few days, they send you custom created beautiful trays for you to use with the whitening gel. You can whiten your teeth as much or as little as you want depending on the time they stay on. I love how you can just keep reusing these trays for as long as your teeth stay the same.
Now, I was concerned because I have really sensitive teeth – so sensitive that I can’t even use an electric toothbrush. I was pleasantly surprised to see that they offer desensitizing gel you can apply after whitening to help mitigate that pain. I never had an issue with sensitivity using these trays.
All in all, my results speak for themselves. I noticed a drastic difference after one 15-minute session and then used the trays for three more one-hour sessions after that. Not only do these trays make teeth white, they actually REMOVE the yellow stains permanently. I am so beyond happy with the results!
Below are some pictures I took of the materials and process.
Clockwise from top left: me looking super glamorous making my molds, what the molding paste looks like, and then everything that’s included in the kit to create the molds.

